
|
|
|
Home |
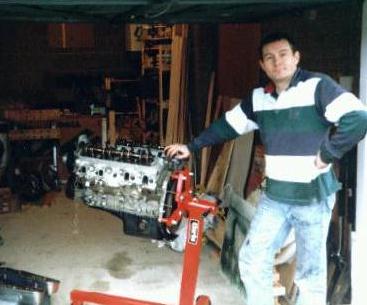
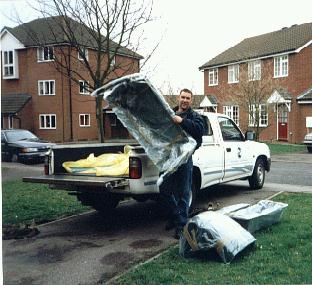
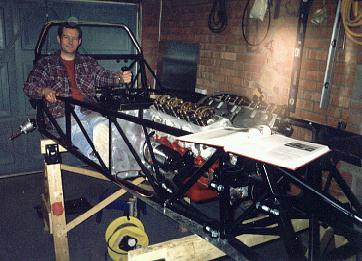
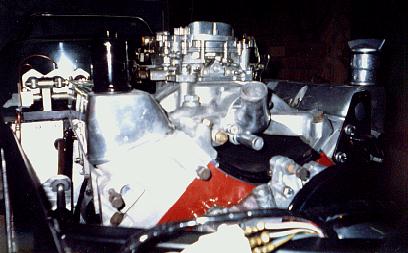
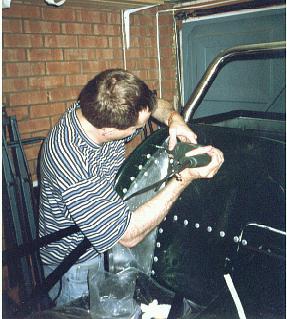
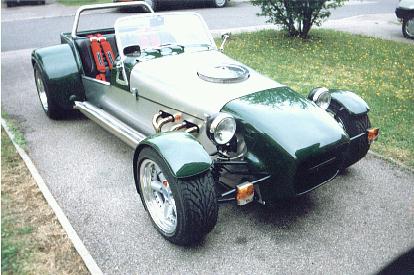
Here are my build photos. Enjoy!Me posing with the just-collected V8:
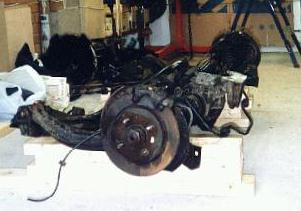
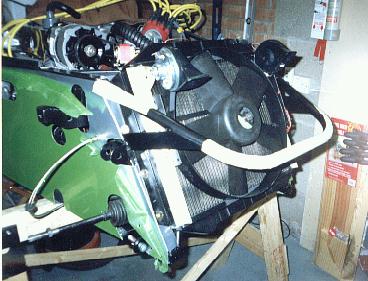
Sierra XR4x4 rear subframe delivered and awaiting refurbishment:
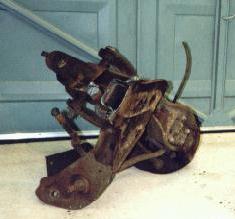
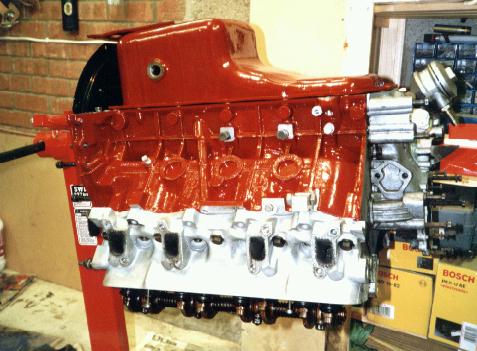
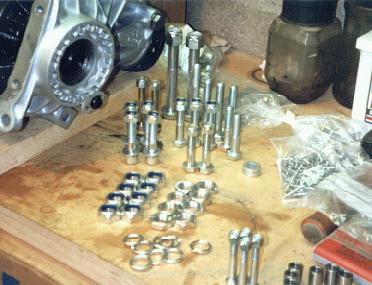
Half of a Cortina front subframe awaits a strip-down and clean-up: The engine block and sump get a coat of nice red paint:
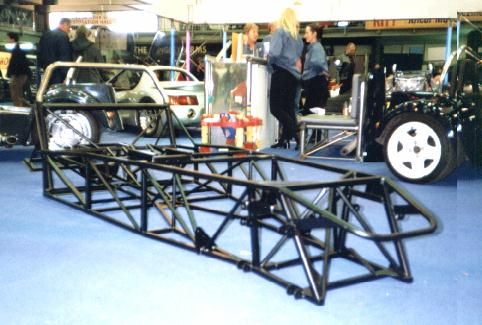
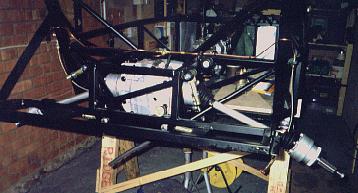
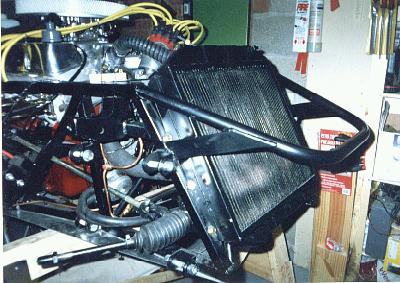
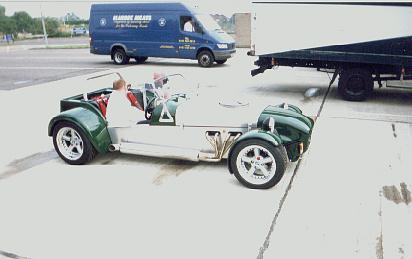
My chassis at the Stafford Kitcar show:
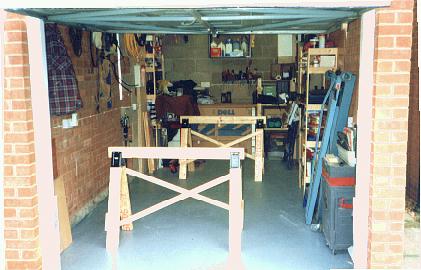
Trestles built, garage awaits delivery of the kit.
All these bits will one day be a car ...
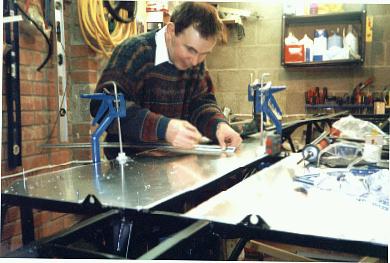
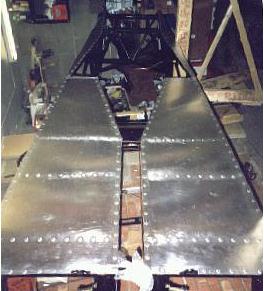
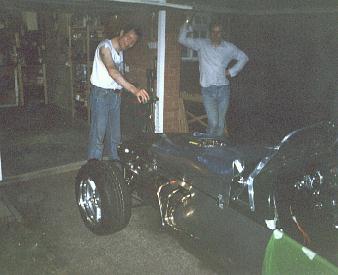
Friend John works on fitting a floor panel.
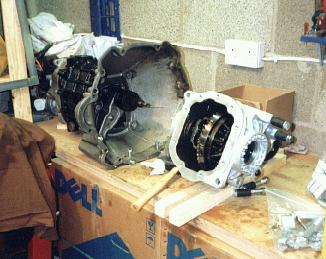
Diff and gearbox await fitting.
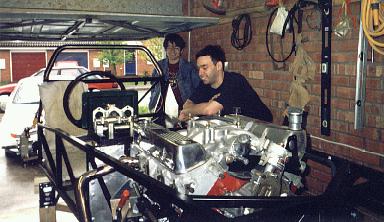
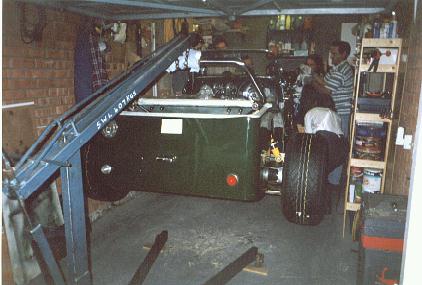
Engine and gearbox get craned into place.
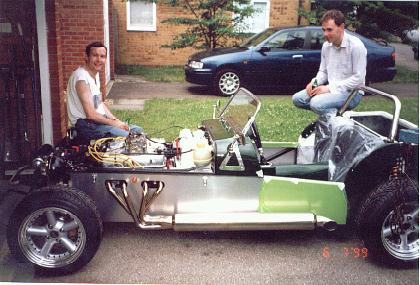
Some visitors to my 'Open Day', 17/4/99. Friend Simon (L) and William Turner (R).
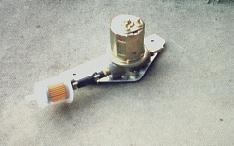
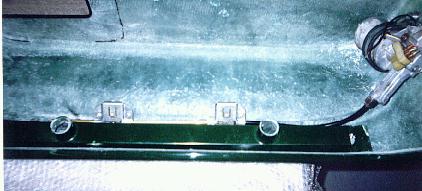
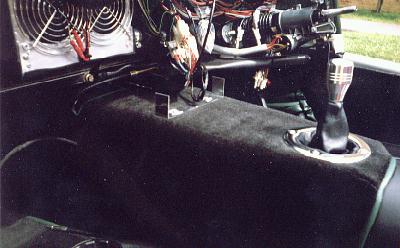
Fuel pump and filter attached to aluminium bracket (upside down).
The pump fits in snugly between the differential and the fuel tank:
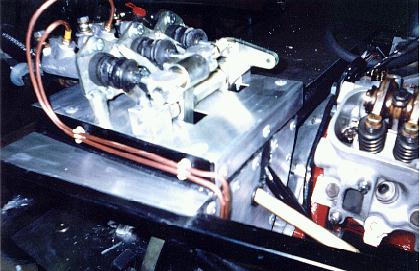
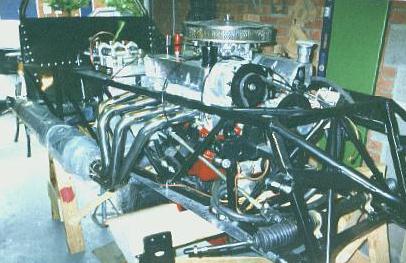
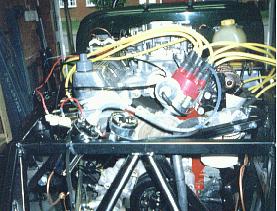
Inlet manifold and carburettor on.
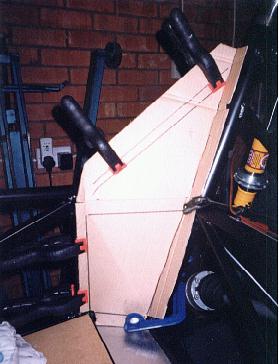
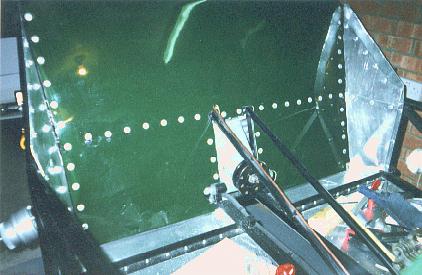
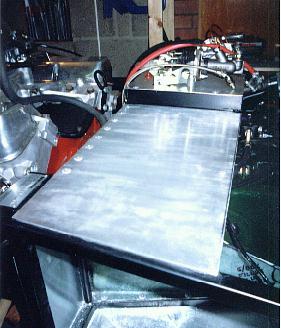
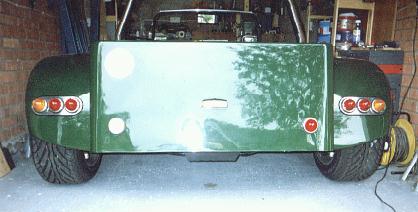
Cardboard template used in making shoulder panels MkII:
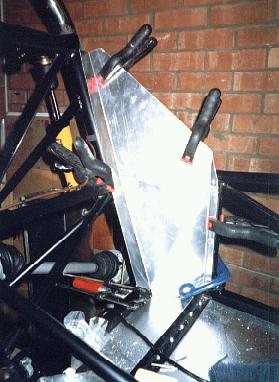
New left-hand shoulder panel in place:
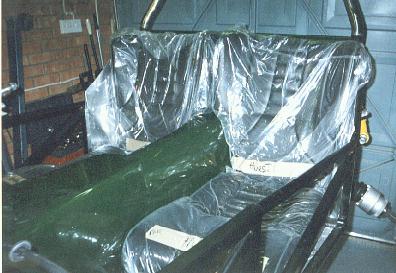
New seats, still in plastic wrappings:
Pedal box, panelled and with brake pipes in place:
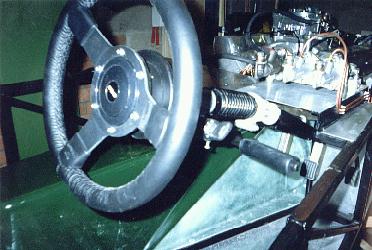
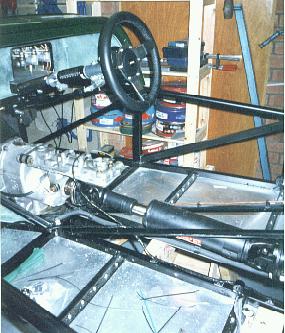
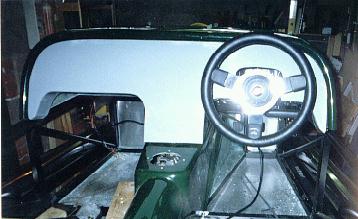
Mountney steering wheel attached to column:
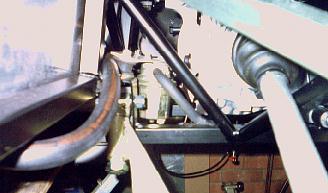
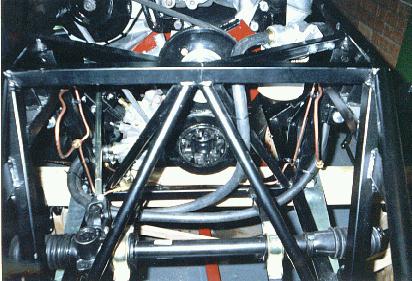
Oil pipes run to remote filter head (just visible behind diagonal chassis brace tube):
The propshaft, before it got sealed into the tunnel:
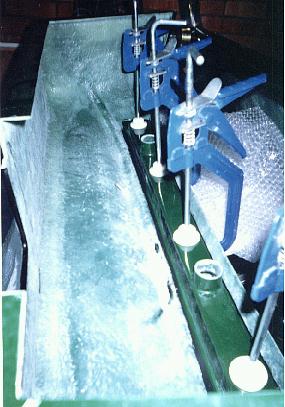
Hot-air trough gets stuck to the underside of the scuttle:
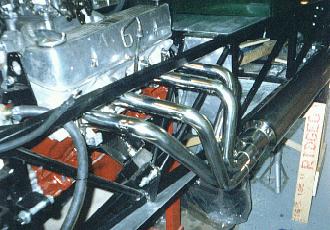
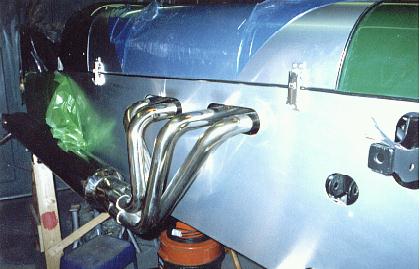
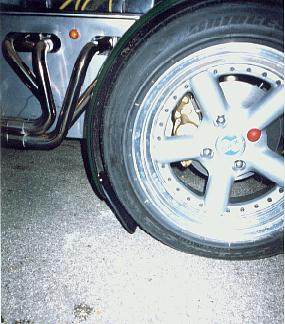
Left-hand exhaust headers and pipe are trial-fitted:
Lashed-up ignition system, just to make the engine run:
Hey look William, I've got a picture just like yours!
Wiper motor, rack and wheelboxes in place under the scuttle:
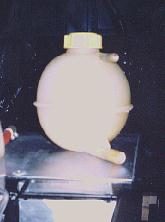
Coolant expansion bottle robbed off'n an old Cavalier:
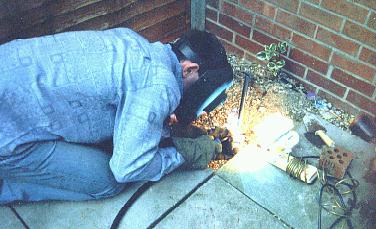
John welds the bottom coolant hose T-piece:
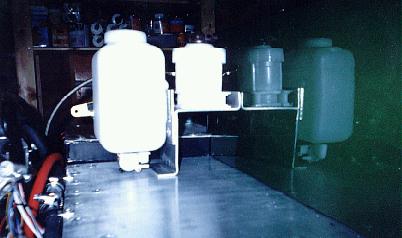
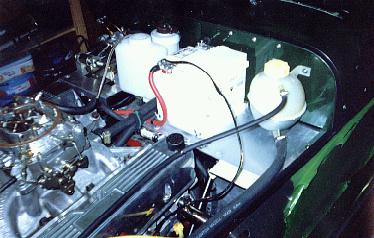
Nice aluminium bracket supporting brake fluid reservoir and washer bottle:
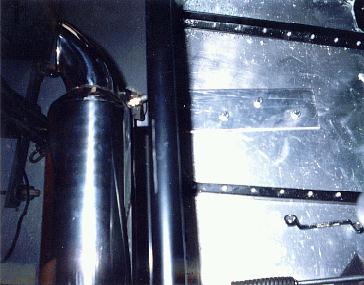
An aluminium sandwich plate under the driver's seat spreads the load from the under-floor exhaust-mounting bracket:
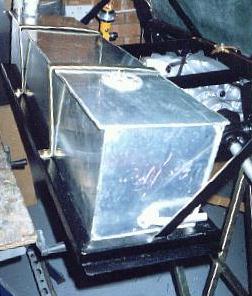
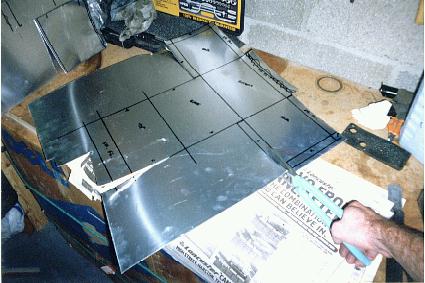
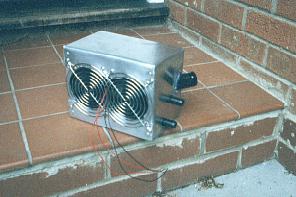
Cutting out the aluminium for the new heater box:
I attach the forward part of the rear body tub with big-head rivets. Is that a bald spot?
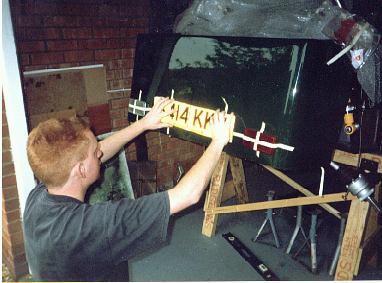
Jim marks out the contents of the rear panel, using his car's own number plate as a template:
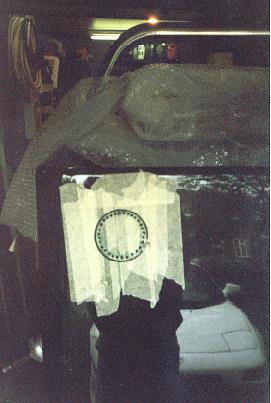
A ring of holes is stitch-drilled for the fuel filler cap. Masking tape protects the gel-coat, which shows a nice reflection of my MR2:
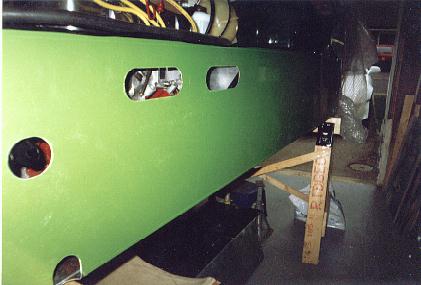
Left-hand side panel in place, showing two oval cut-outs for the exhaust pipes. No, the side panels aren't going to be lime-green, that's the protective plastic:
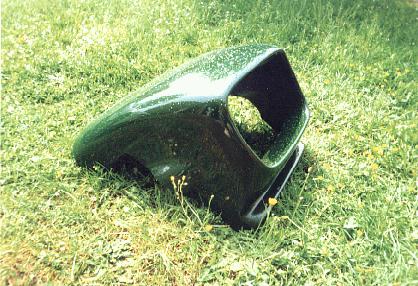
'Seven' art, entitled 'Nose Cone in the Rain'. I need to mow my lawn:
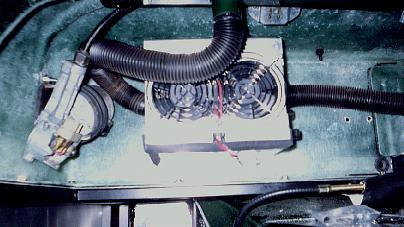
Heater in place under the scuttle next to the wiper motor. Flexible tubes join it to the hot air trough:
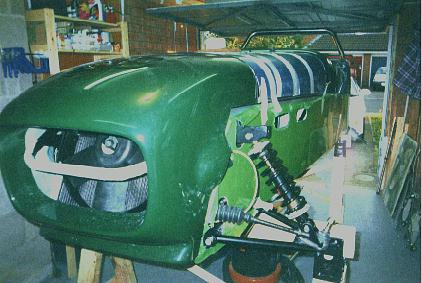
Bonnet and nose cone trial fitted, together with part of the front left suspension:
The battery shelf fully populated:
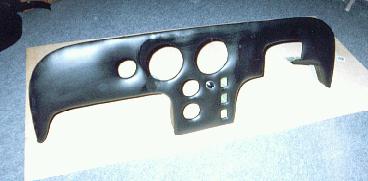
Holes are cut in the bare GRP dash moulding:
The dash blank is padded with foam and covered with vinyl:
Not on the road yet and look what it's doing to Rob already!
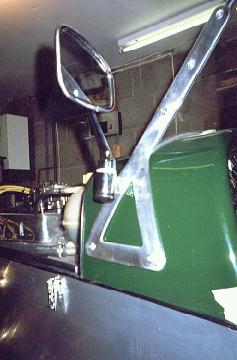
Passenger-side mirror screwed to the windscreen support:
Lifting the Dax down. An engine crane holds the roll bar while 6 blokes lift the front and Jessica (lower right) pulls the trestle out:
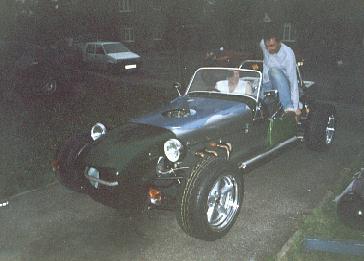
John hops in and we go for an inaugural spin (the light was failing, hence the bad picture):
"I dub thee ... and all who sail in her ... "
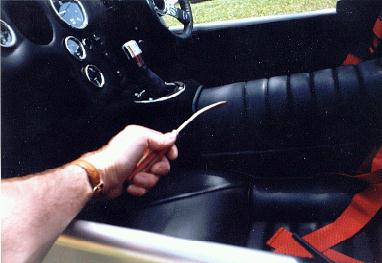
Vital carpeting tool - the bent screwdriver:
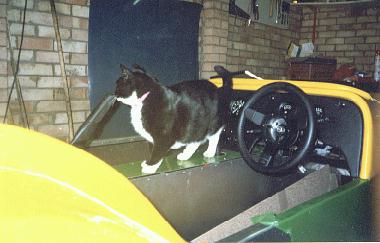
A cat on a Cat. Chris & I visit William's Tiger Cat E1 build:
Bracket to hold the rear of the console steady:
The front wings are stuck on with BD. The air-filter is in place:
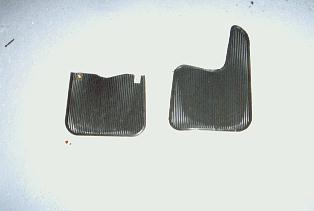
Mudflaps. Before (right) and after (left):
... and fitted to the front wings:
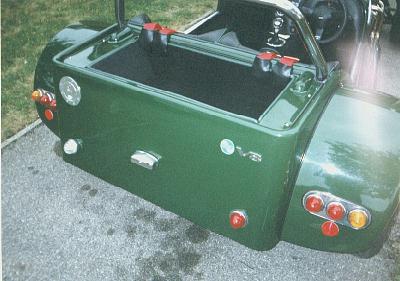
Rear boot tub, carpet, harnesses, badges and reflectors in place:
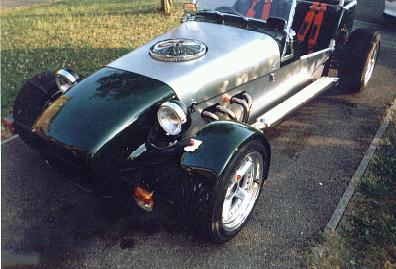
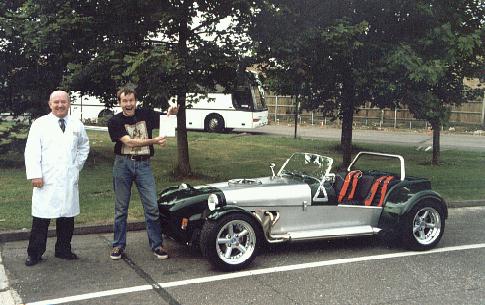
The finished article, ready for SVA!
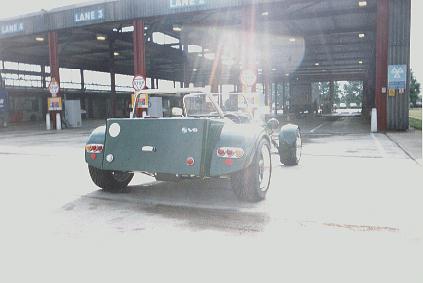
Waiting for the SVA test to start. The sunshine was a good omen:
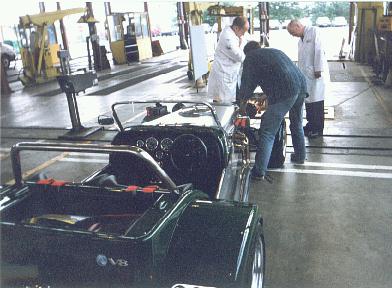
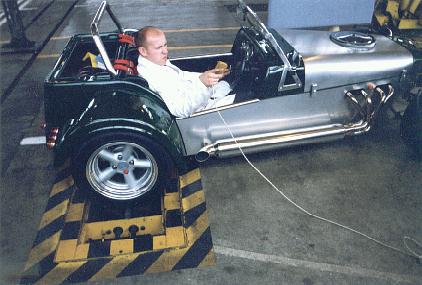
Mr. Tester & Mr. Grainger examine the inside of the Dax:
Adjusting the headlamp aim during the test:
Mr. T tests the speedo calibration:
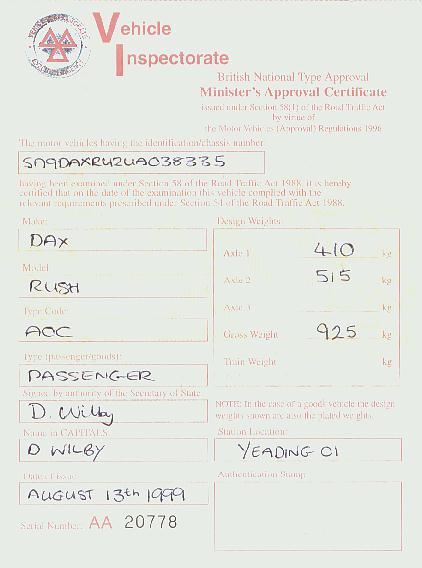
Minister's Approval Certificate
Go on to the post-build photos. |